Chalk Paint White Dresser to a Grey Color
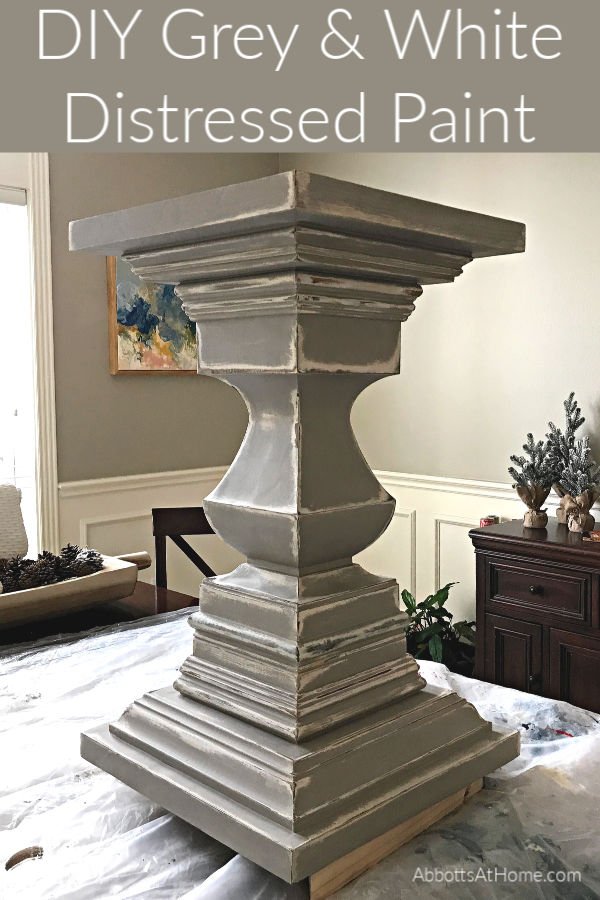
Try this BEAUTIFUL & EASY DIY White and Grey Distressed Chalk Paint Furniture Makeover. With written steps & how to video to help you do it.
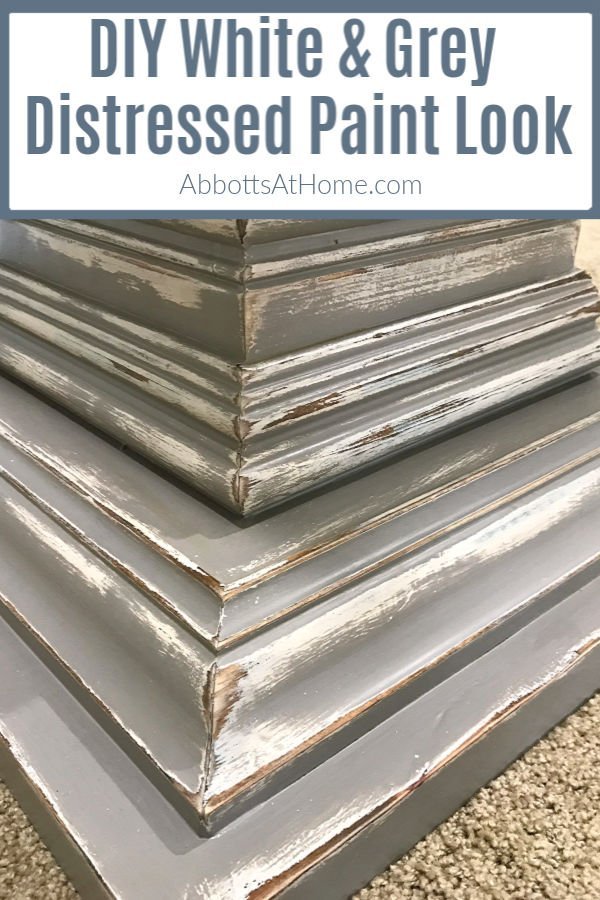
DIY White and Grey Distressed Chalk Paint Look
I started with unfinished wood, for this project. If you want to get this look on stained or painted furniture, I have some tips to help you do that, after the painting steps.
Keep scrolling to see what I would do with stained furniture or painted furniture, to get this DIY Distressed Furniture Look.
Now, let's get to the steps for this DIY White and Grey Distressed Furniture paint look.
Some links on this post are affiliate links. As an Amazon Associate I earn from qualifying purchases at no additional cost to you.
Watch the DIY Chalk Paint Video
Seeing someone do something always helps me understand the DIY better. Watch this 5-minute video for a better look at each step for this DIY White and Grey Distressed Chalk Paint Furniture look.
DIY Grey Distressed Chalk Paint Furniture Makeover Steps
Here's What You'll Need
- Vaseline
- Danish Oil in Black Walnut
- Vintage Duck Egg Chalk Paint by Dixie Belle
- Amy Howard Chalk Paint color Linen
- Amy Howard Chalk Paint color Selznick Grey
- Wipe On Poly in Satin Finish or General Finishes Flat Out Flat (my favorite)
Quick Guide to Steps
- Prep your furniture and stain, if needed.
- Use Vaseline on any areas you want to highlight.
- Add blue chalk paint accents where you'd like.
- Cover entire piece of furniture with white chalk paint.
- Cover entire piece of furniture with 2 coats of grey chalk paint.
- Wet sand to reveal layers of color and stain beneath.
- Clean and seal with water-based poly.
Keep reading for a detailed explanation of each step.
How to Get this Distressed Chalk Paint Look
Step One
If starting with unfinished wood, use wood filler where needed, then sand to 150-grit. I like 150-grit under paint. I go for a higher grit when I'm just staining wood. Wipe away all dust with a tack cloth, or similar.
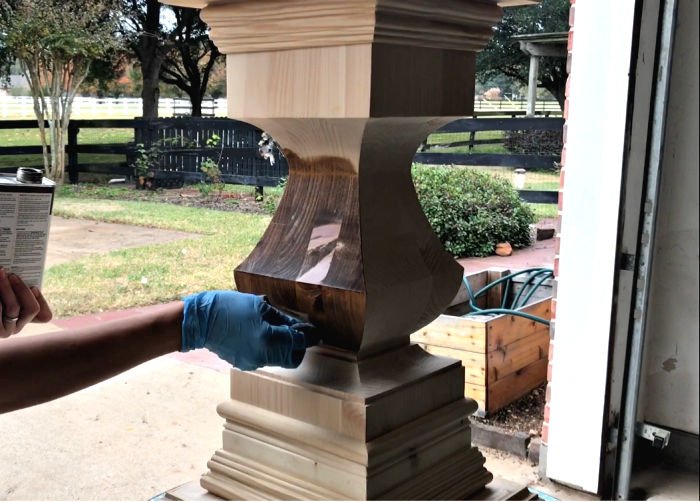
Now, wipe on 2 coats of Danish Oil in Black Walnut. Wear gloves and follow the directions on the can for best results.
I love Danish Oil as a stand alone stain or even under paint because it's oils soak into wood and harden, which makes the wood harder and more durable.
That soft pine needs that extra strength around my boys. K, NK. 😉
Step Two
Apply Vaseline with your finger tip or a q-tip to just the corners, edges, and any raised areas you definitely want the stained wood to show through the paint. Don't use too much Vaseline.
If you make it gloppy or apply a lot, you'll have a much bigger patch of stained wood show through. You can see exactly how I applied mine with a q-tip in the video.
I used a q-tip so that I could apply just the smallest amount to the corners and edges.
You can see how I distressed an office chair with thicker Vaseline here. It still looks nice, but you see more wood and it has more of a rustic style.
Step Three
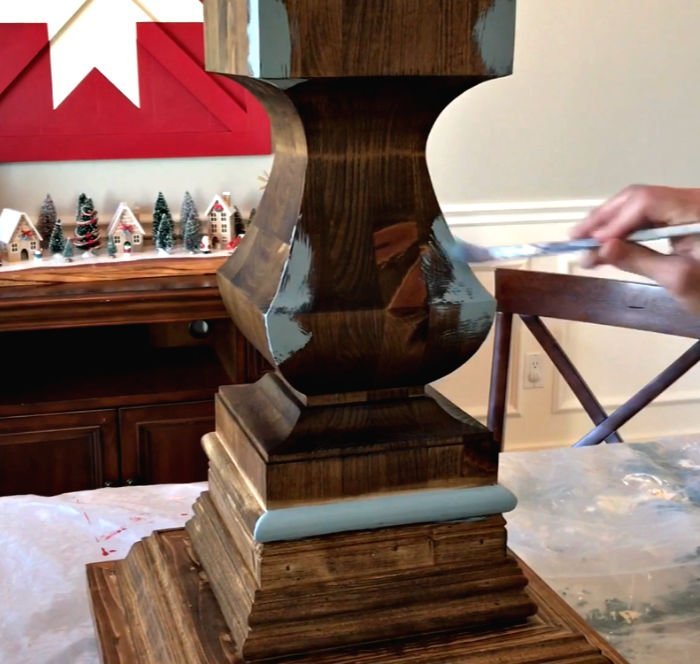
Add some blue accent color to a few raised details or corners.
I applied Dixie Belle's Vintage Duck Egg Blue to a few areas that I just wanted a bit of blue highlights showing through.
This just added more variation to my design. If you want more blue to show through, you could do the blue over the white, instead of under.
Step Four
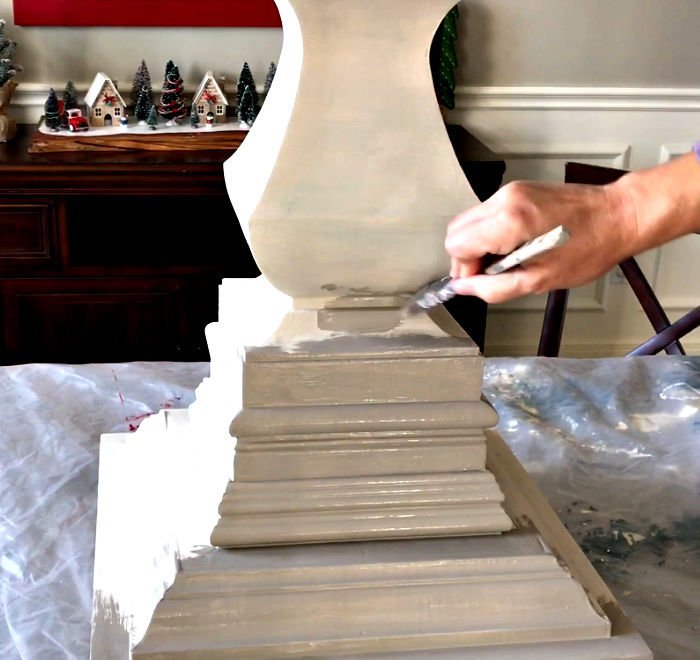
One thick layer of a creamy, off white chalk paint. Like the Linen color, by Amy Howard, I used. By thick, I just mean to make sure you get a pretty solid layer of color so that it looks even.
BTW, I'm using a good nylon brush to apply all of my chalk paints.
Step Five
Then, you need two layers of a Medium Grey. I used Amy Howard's Selznick Grey Chalk Paint.
I really recommend using chalk paint when distressing. It dries harder and faster than latex paint. And, it sands more easily and evenly than latex.
Step Six
Now for the fun!
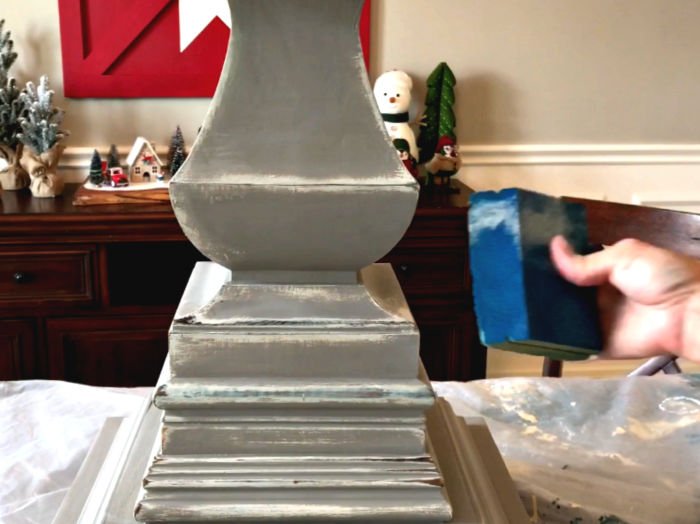
Use a slightly damp Fine Grit Sanding Block to wet sand the edges, corners, and raised areas. Be sure to get all those spots you applied Vaseline too.
You'll need to rinse out your sanding block as the pores fill up with paint. Use a damp rag to wipe off the chalk paint residue as you work too.
That chalk paint residue tends to build up pretty quickly, so keep it clean to avoid messing up.
Furniture will naturally wear at corners, edges, and raised spots over the years. So, I tend to stick to those spots for a more natural distressed look.
Go for what you like with this DIY white and grey distressed chalk paint look.
I like to just step back as I work to see if I need to work on some spots more. It's all personal preference though. Go with what you like.
Step Seven
Seal with a good, durable water-based polyurethane. I used a Wipe-On Poly that I absolutely love because it's so easy to apply. I wiped on 6-8 coats of this over a couple days.
The first 2 or 3 coats don't look great, because this finish is so thin. But, then on coat 4 or 5, it's perfectly smooth and shiny.
I normally say to follow the directions on a product, but I will say, for this wipe on poly, don't sand after the first or second coat.
It really does go on so thin, you pretty much sand it clean off without much effort. And, when you do sand between coats, use a very high grit, like 400 or up. And, just lightly sand.
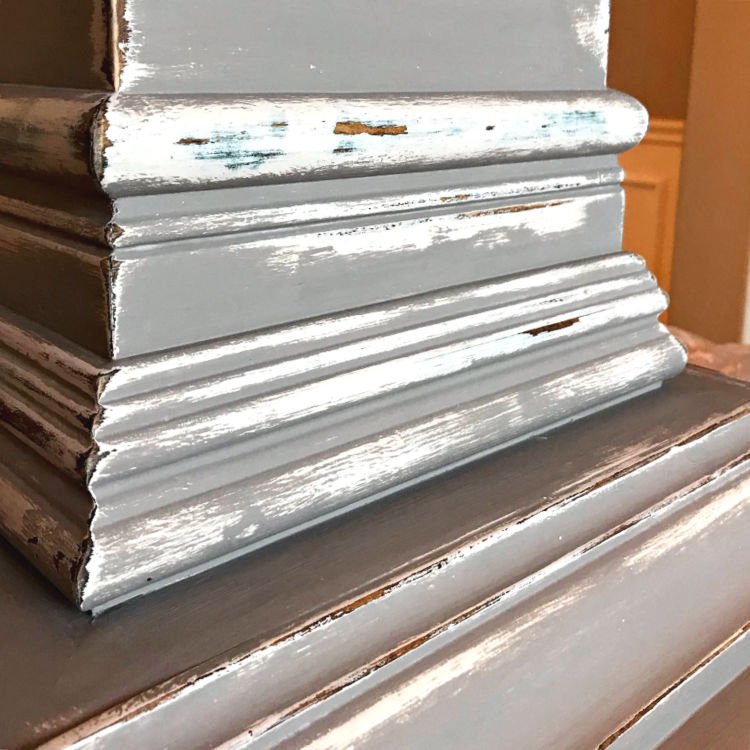
How to Get this Distressed Chalk Paint Look on Stained Furniture
To get this DIY White and Grey Distressed Chalk Paint look on already stained furniture, clean the furniture with TSP to clean and degrease it.
Patch with wood filler (if needed) and sand rough areas smooth with 150-grit sandpaper. Then follow the steps in the video, starting with the Vaseline then blue chalk paint.
Chalk Paint doesn't require a primer to stick to stained wood.
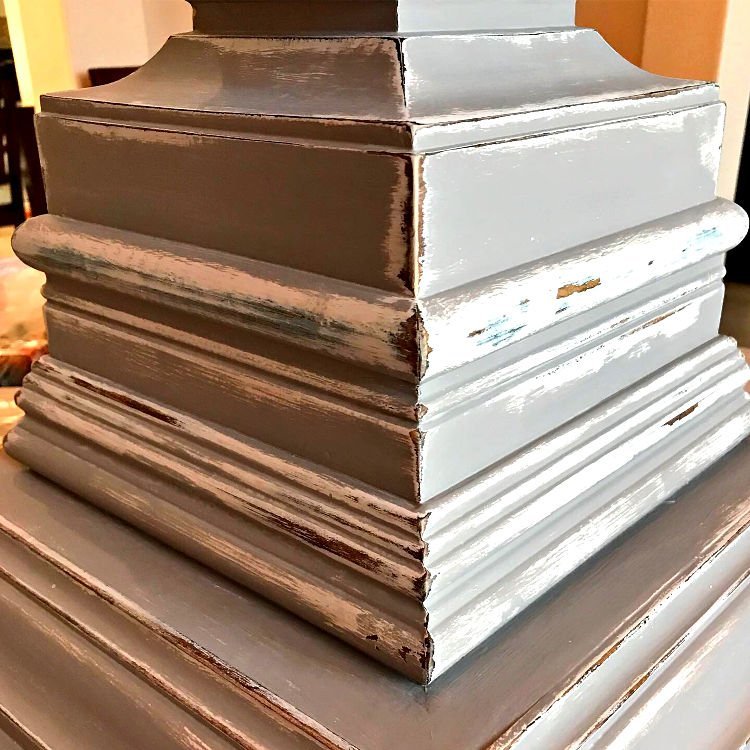
How To Get This Look On Already Painted Furniture
To get this look on already painted WOOD furniture, I recommend using CitriStrip Paint Stripper to remove the paint. You can see my DIY steps for stripping paint off furniture here.
Then, you can use dark brown gel stain as the first layer over stripped wood, instead of the Danish Oil I use on unfinished wood.
And follow the steps in the video, starting with the Vaseline then blue chalk paint. Chalk Paint doesn't require a primer to stick to stained wood.
After Pictures from this Distressed Chalk Paint Makeover
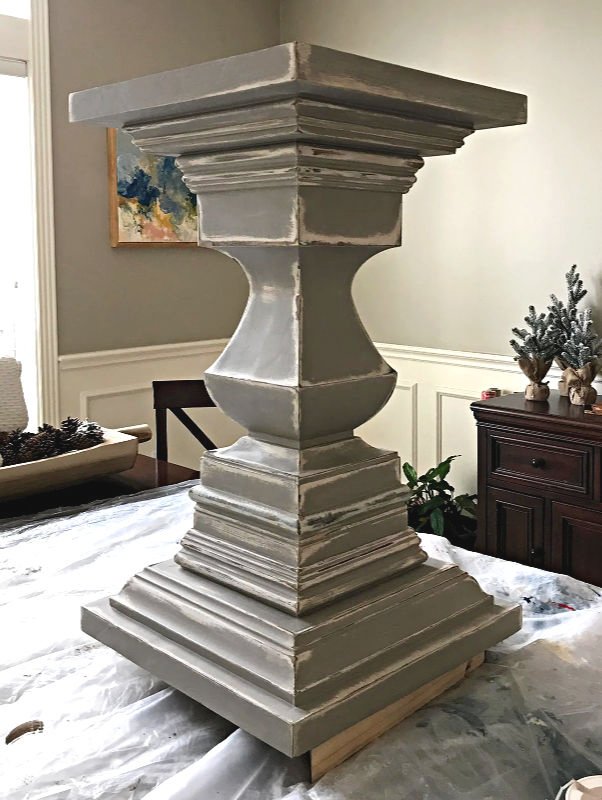
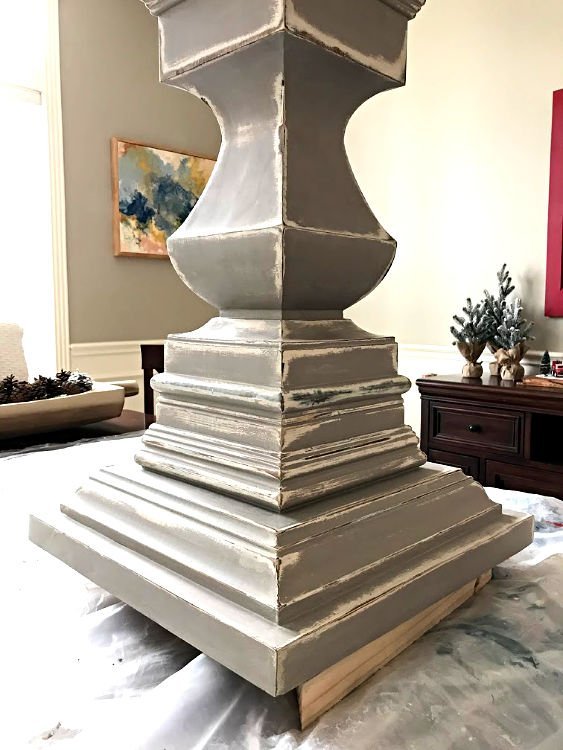
Check out all 4 DIY Tutorials from this Wooden Kitchen Table Build!
- DIY Wooden Kitchen Table – Pedestal Base
- DIY White and Grey Distressed Furniture Paint Steps (this post)
- DIY Round Table Top from Plywood Circles
- DIY Store Bought Stain Finish Steps
Grab the 19 page free printable version of my Beginner's Guide to Painting Furniture that includes everything from this post, plus answers to 12 Common Questions about Painting Furniture.

More DIY Projects For You
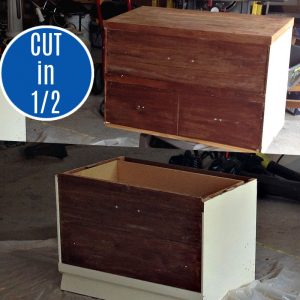
If you have a dresser that needs a makeover. Check out How To Cut a Dresser in Half to Make 2 new pieces of furniture. You won't believe what they look like now!
Or, this DIY Gray Chalk Paint Furniture Makeover is so pretty, I love it!
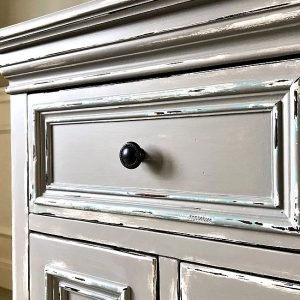
Here's another distressed furniture painting project, you might like, a Vintage Distressed Paint Look.
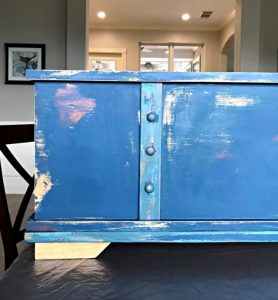
Or, check out this classic Dark Blue with Dark Wax Cabinet Makeover.
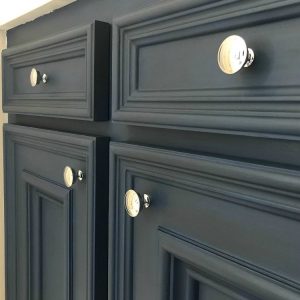
You can also find this popular Blue Distressed Paint Using Vaseline Tutorial, this easy DIY Stain Wood Furniture without Stripping tutorial, How to Faux Patina Paint Metal Finishes, and a beautiful DIY Weathered Paint Effect Tutorial, on this blog.
Feeling inspired? Now that you've seen this DIY White and Grey Distressed Chalk Paint Furniture tutorial, you can do it too.
Let me know if you have questions. Don't forget to sign up for the Abbotts At Home email newsletter to get DIY, Remodeling, and Crafty ideas in your inbox.
herringtonociessly.blogspot.com
Source: https://www.abbottsathome.com/diy-white-and-grey-distressed/
0 Response to "Chalk Paint White Dresser to a Grey Color"
Post a Comment